Thursday, December 15, 2011

Yuletide Blessings Forum Set

There are so many new and absolutely wonderful tubes at PSP Tube STOP that I am gonna have to take out a loan just to get everything I want! If you have not been by the new store, what are you waiting for?

Renee Lavoie has a new tube out called "Christmas Dreamer". She is just beautiful and I used it to create this forum set.

Graphics4Fun

Graphics4Fun


Hope your holidays are going great!

By using any item from this Blog, you agree to the TOU.

Sunday, December 11, 2011

Red Holly Winter Tutorial

Seasons Greetings

This "Red Holly Winter" tutorial was created 10 Dec 2011 by me and is the registered property of Graphics4Fun PSP Tutorials.

This is my creation, any similarity to other tutorials on the Internet is unintentional. Please do not copy or place this tutorial or any graphics to any other place without written permission directly from me. Thank you.

This tutorial is written in and for PSP X2 and assumes you have a working knowledge of PSP. Please use my tutorial as a guideline and you are encouraged to try your own ideas. Remember to save your work often

Items you will need:

"Red Holly" tube by Renee Lavoie. You can purchase this tube from PSP Tube Stop and you must have a license to use her work.

Premade animated background in 10 layers, found in the Supply Zip. The background is the Premade Background-372 by AshenSorrow and is used here with their permission. Via their TOU, credit must be included on the tag and the wording is supplied in the tutorial.

Mask G4F-550x550, which I have created and supplied in the Supply Zip.

Text: I am using "TXT Sloppy Script", a PTU font ($3 at Lettering Delights) and is NOT included in the Supply Zip. You can use any font you wish

Download SupplyZip

Unzip your supplies.
Put the mask in your mask folder

Open 10-LayerAshenSorrowBackgroundWithSnow
Starting from the bottom, rename frames 1, 2, 3...etc until the top frame is 10.

Save as PSP (Animation Shop) where you can find it again to open in Animation Shop. You may now hide all the layer except #10.

NOTE: If you are NOT making the animated tag, you can pick the layer you want for the background, hide all other layers.

Open your "Red Holly" tube pack by Renee Lavoie. Select the center tube layer without the background or the holly vines. Resize image to 72dpi, and 75%

Copy and paste as a NEW layer above all the background layers. Position where you want it to be in the tag.

Create new layer, flood fill with white and apply the mask.

You will find the mask has covered part of her left wing. Click the tube layer and from the layers pallet, duplicate the tube. Now you have 2 tube layers and then the mask layer.

Screenshot 1

Drag the copy of the tube so that it is above the mask layer.
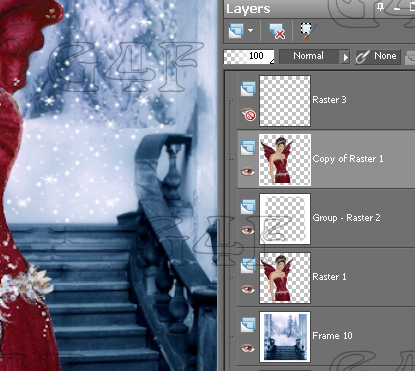
Screenshot Layers2

Select the Freehand Selection tool (lasso) from the Selection tool (left menu) and draw an area around the bottom of the top tube layer. (See screenshot-Selection Tool) Setting the Feather to 6 and the Smoothing to 16, anti-alias checked. (Click to see full size image)

Photobucket

Go to Edit ---> Cut. You should now see the mask has covered by the bottom of the tube and the wing is on top of the mask.

Go to top menu, select Selections---> Select None to get rid of the outline of the area (dashed line) below.

Now add shadow to the top tube layer with these settings:
-2
3
27
3.00
color black

Close off/hide all layers except the top 3. (the tube layer, mask layer, shadowed tube layer).

Merge visible

Add credits on a new layer (*you are required by the TOU to credit the premade background supplied by AshenSorrow). Credit wording is also in the Supply Zip :
©ReneeLavoie  www.reneellavoie.com <your PSP Tube Stop License#> *Bckgrd by ashensorrow.deviantart.com" and any personal credit you use. Merge visible.

You now have 11 layers, the 10 background and the tube layer.

If you are NOT making an animated tag, you can unhide any one of the ten background layers and then Merge All. You can add any text you wish, Save and you are finished.

If you ARE making the animated tag, continue:

Open Animation Shop, find the file where you saved the 10-layered-background as "PSP Animation Shop" (.psp). Open this in Animation Shop and you have 10 frames. You can run the animation to make sure it works fine if you wish.

Make sure the Propagate Paste button is triggered/activated. (Click to see full size image)

Propagate Paste

Select the first frame, then go to Edit---> Select All

STOP

Go to PSP and highlight the top layer only. This is the mask/tube layer with the credits. Copy and take to Animation Shop, Paste as a new animation, then copy and paste into the 10-frame background group. It should propagate into all frames.

Back in PSP, I now add my text. I used the light blue of the background and added a .50 width white outline (see Text Properties). I then added a shadow with these settings:
0
0
70
7
Black

Duplicate the Shadow step again.

Copy the text layer and carry to AS where you will add as a New Animation.

Then with the frame group highlighted, go to Edit---> Paste ---> Into Selected Frame and it should paste into all frames.

Save as .gif and you are done.

Thank you for trying this tutorial.

I always like to see your results. Please post a link to your results or email it to me and I may include it on a results page!

All my tutorials are registered with Tutorial Writers Inc, the Tagging Community's premier tutorial registration company.

Below are some Snags. Please enjoy using these:
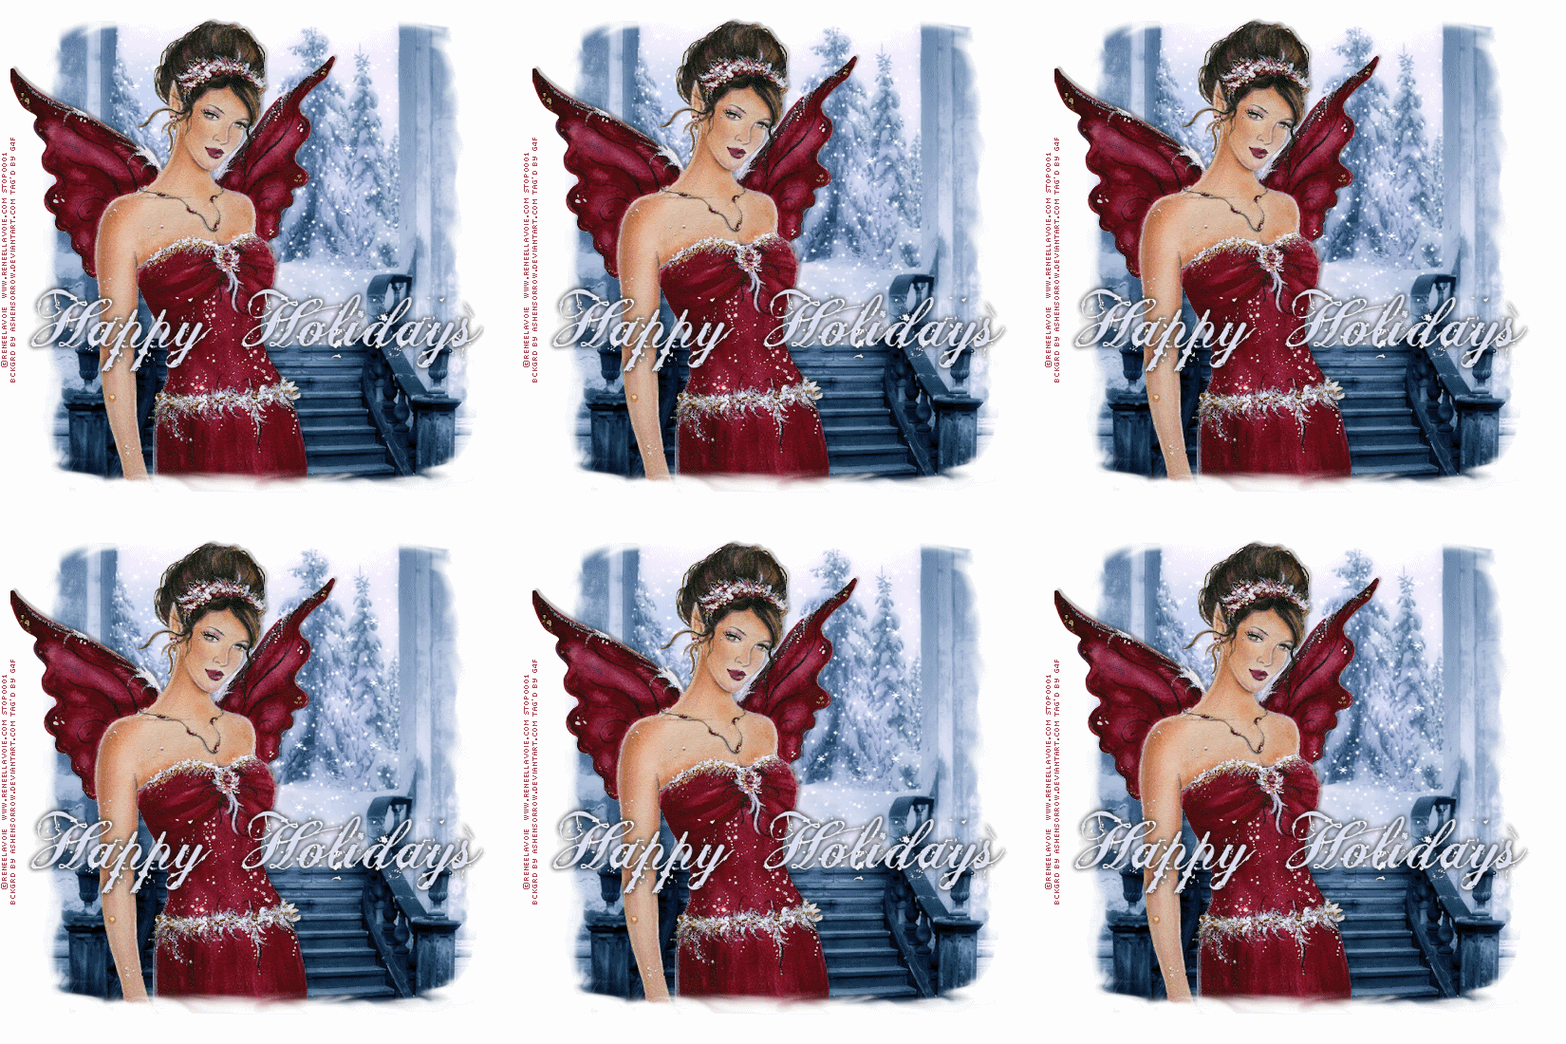
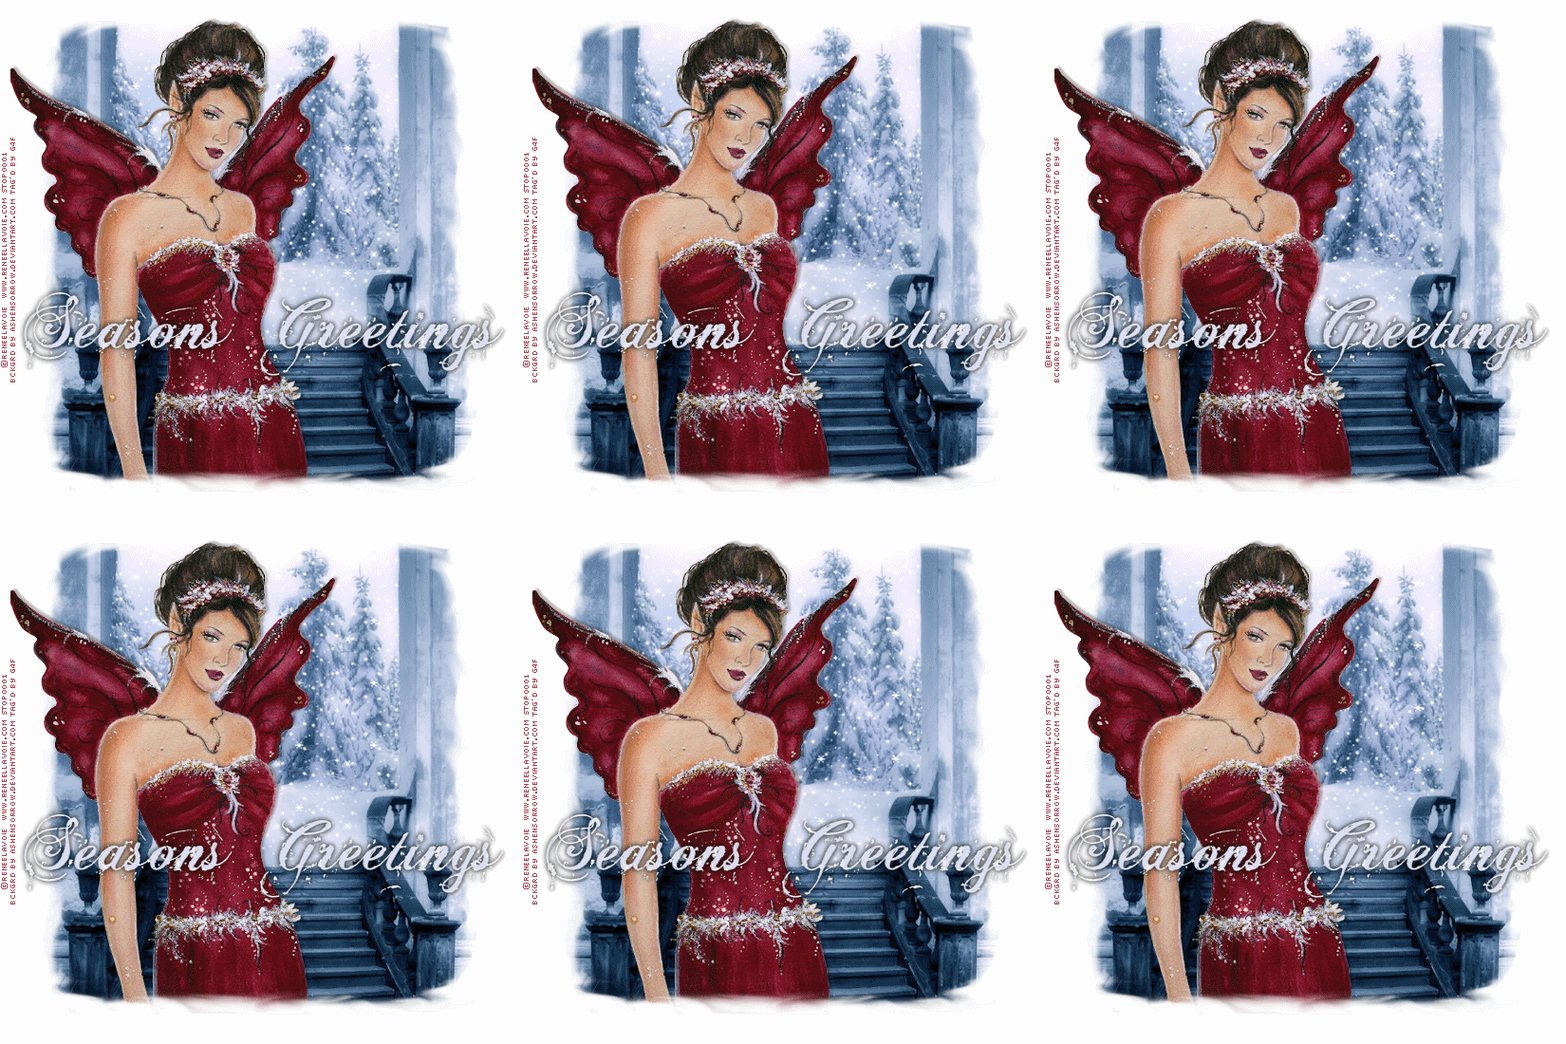
Red Holly Winter Happy Holidays snag

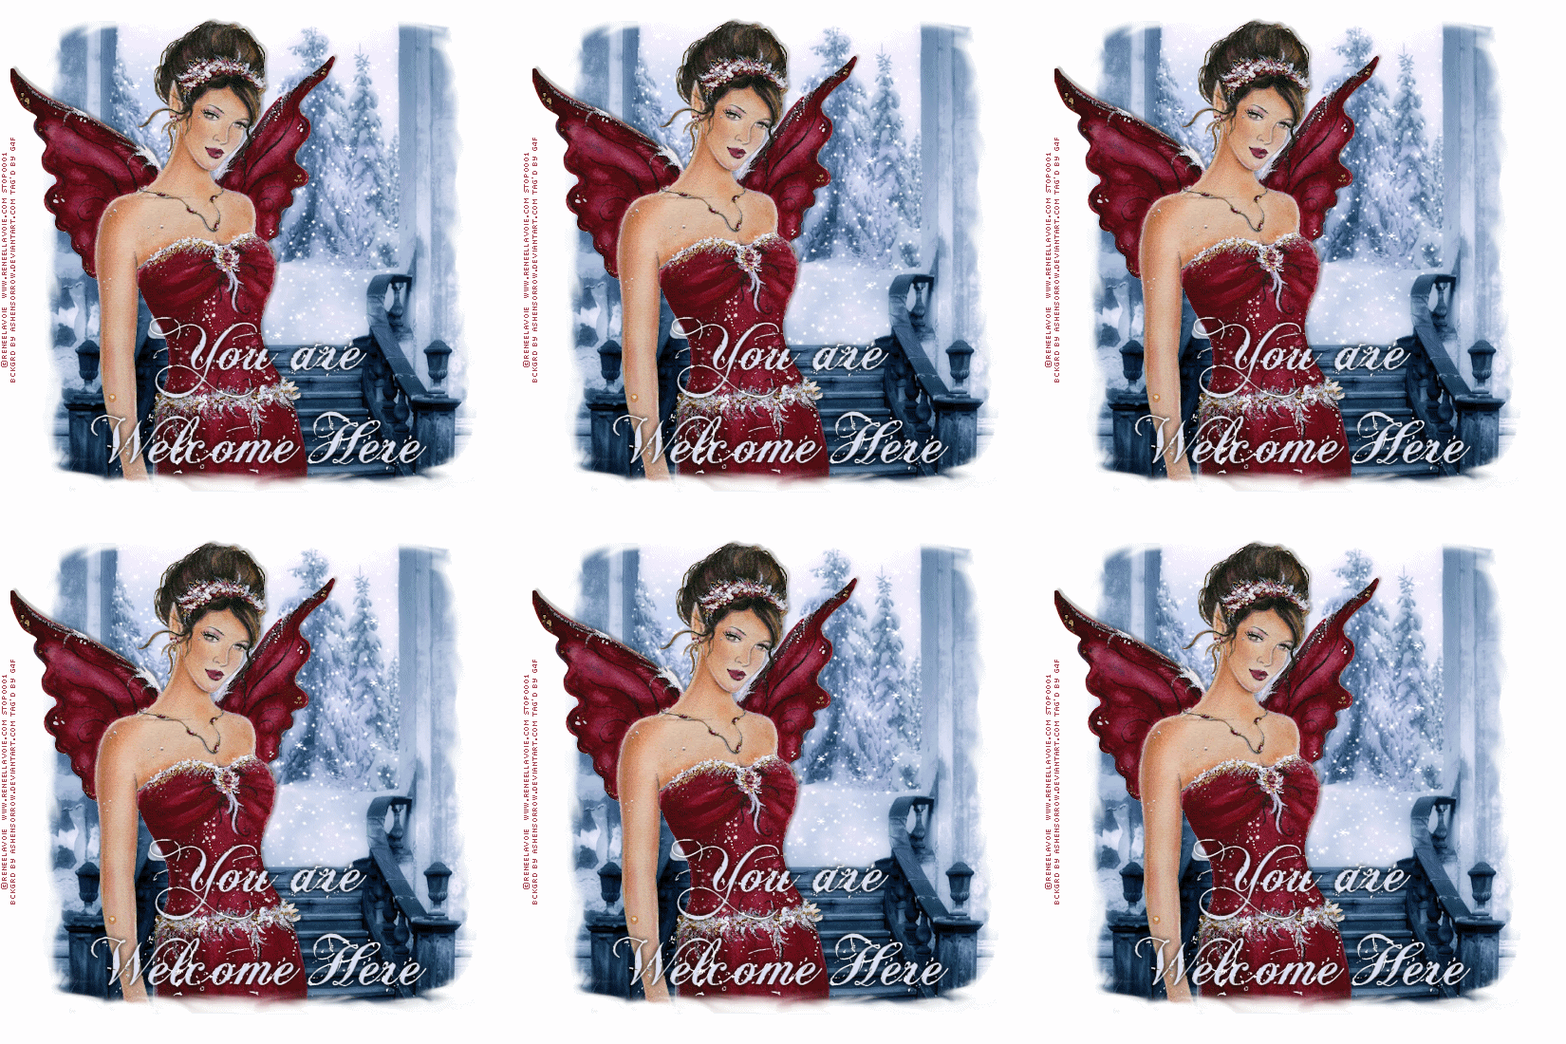
Red Holly Winter You Are Welcome Here snag

By using any item from this Blog, you agree to the TOU.
Wednesday, December 7, 2011

Katerina Koukiotis Santa Kitty Tag WWO

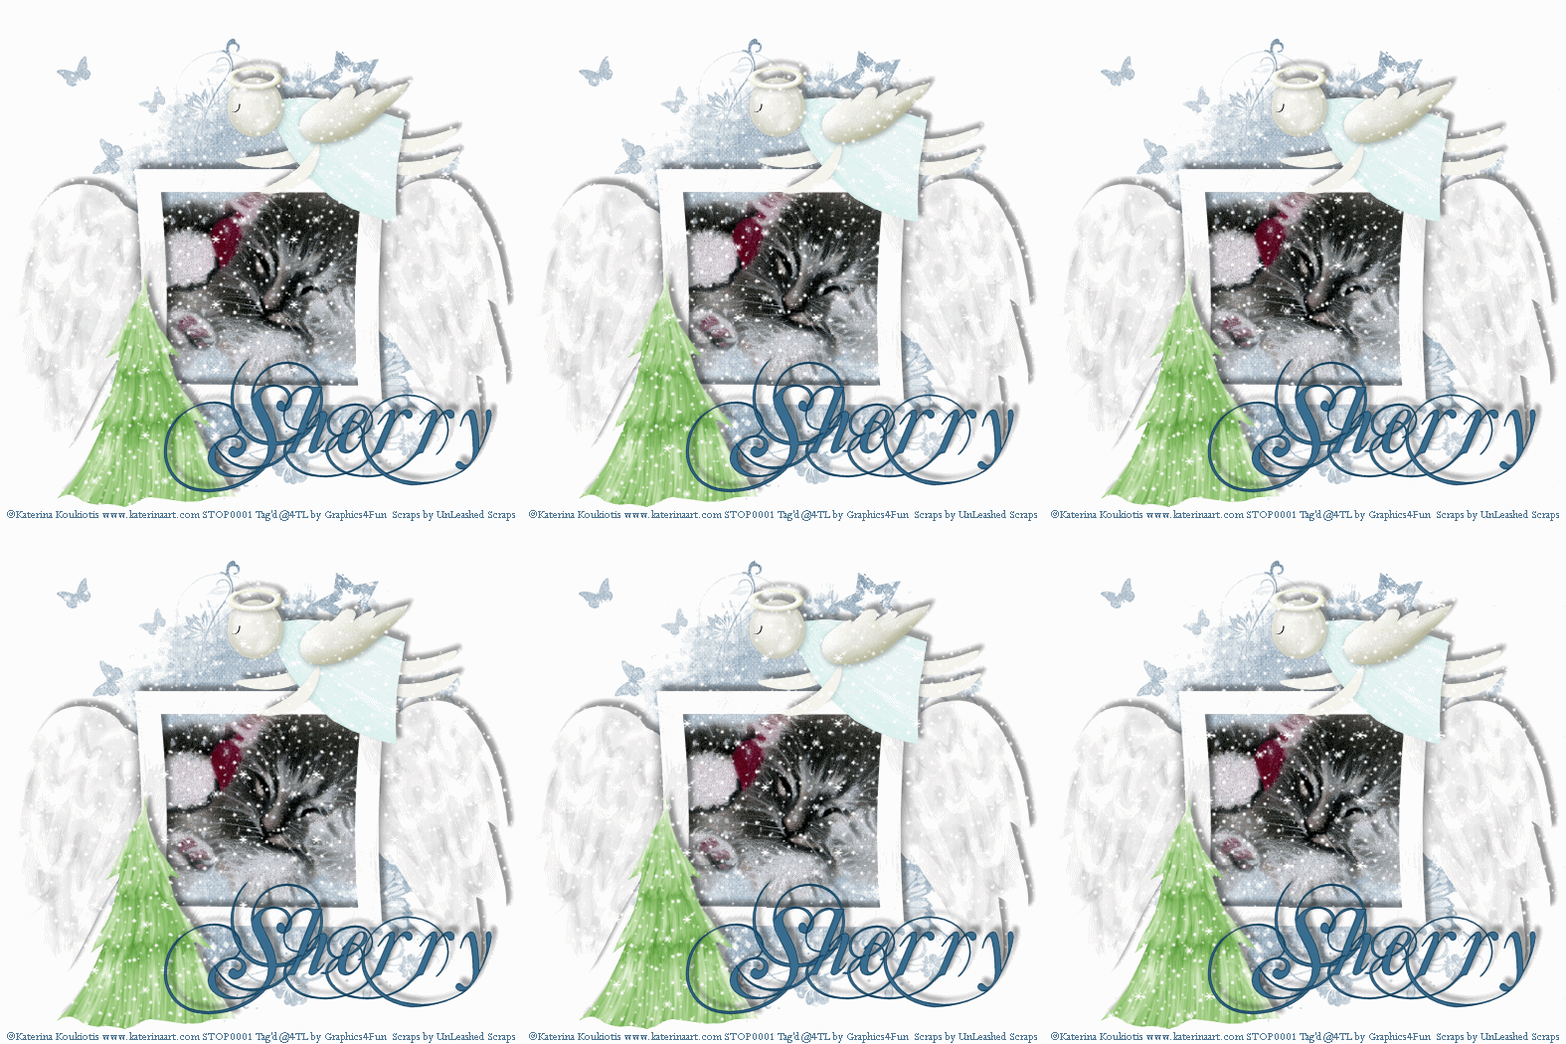
This WWO Christmas tag was made using the "Santa Kitty" tube by the wonderful artist Katerina Koukiotis. You can purchase her tubes at PSP Tube Stop: Katerina Koukiotis

I used a FTU scrap kit called "Winter Twilight" found at Un-Leash-ed-Scraps.

Santa Kitty

If you would like a tag with your name, please leave a comment with the name you want and a valid email This is a limited time offer and those leaving their names will receive a download link via email.

Hope you are a having a wonderful December.

By using any item from this Blog, you agree to the TOU.

Monday, December 5, 2011

Happy Yule PTU Tutorial and Snags

Happy Yule

I used Lisa Cree's "Snow White" tube for this tutorial.

This tutorial was created 5 Dec 2011 by myself, Graphics4Fun.
This is my creation, any similarity to other tutorials on the Internet is unintentional.
Please do not copy or place this tutorial or any graphics to any other place without written permission directly from me. Thank you.

This tutorial is written in and for PSP-X2 and assumes you have a working knowledge of PSP.

Items you will need:
You will need to purchase this "Snow White" tube by Lisa Cree from PSP Tube Stop and you must have a license to use her work.

You will need Animation Shop. (If you don't have AS and want to make the tag, just use 1 layer of the 3-layered red frame mask.)

Lets, begin

Download the supply zip: http://bit.ly/G4FTutSupplies

Open the Supplies Zip and find:

1. White and Green Background
2. Various word art
3. Red frame mask in 3 PSP layers
Link for the original Mask by "Art Work by EssexGirl"

Open your purchased Snow White tube and resize her to 72dpi and 57%. Add shadow with these settings:
0
10
35
3
color black

Next Open the White and green background layer. You will notice it has some little black marks on it. These are hand drawn guides to position the Tube when you carry it to Animation Shop (or just paste her onto as a new layer if not animating).

Take background to Animation Shop--> Edit --> Paste New Animation and then go to Edit -- Paste --> After Current Frame.
Repeat this last step.
You should have a 3-frame panel. Click the first frame then go to Edit --> Select all and stop.
1.Make sure the Propagate Paste button is ticked (see screenshot).

Propagate Paste Button

2.Make sue the Propagate Paste button is ticked!

*Now go to PSP and get Snow White, Edit --->Copy and carry to Animation Shop--> Edit --> Paste New Animation and then back to Edit --> Copy. Take the copy of the tube (still in AS) to the 3-frame panel (background) and Edit --> Paste --> Into Selected Frame.
Position within the little marks on the 1st frame of the background panel and when you have it where you want it, release the mouse and the tube should be in the correct position on all 3 frames. If not, check to see if the Propagate Paste button is ticked, Go to Edit -->Undo and then Edit--> Select All and then Edit --> Paste-- Into Selected Frame and complete the Paste Into Selected Frame step.

Now go back to PSP and open your Red-frame mask to find the 3 layers. Save As PSP Animation Shop (you'll need to name it "red frame" or something) so it reads, "redframe.psp". (Make sure this is "PSP Animation Shop")

Go to Animation Shop, File -->Open and find that file and it will open into a 3-frame panel. If you want to make sure it is the right one, go to View-->Animation and you should see the glittering frame.

Now while in the 3-red-frame panel, select the 1st frame then Edit--> Select All and then Edit-->Copy.
Take to your previous 3 frame panel of the background and tube and Edit--> Paste --> Into Selected Frame.

Go back to PSP, add your credits, convert to raster layer, copy and take to AS, paste as a new animation, copy and paste on to your 3 panel tag, save as TagBase.mng

Open into PSP the word images you want to put into your tag. These are .png files. Copy each image and place into Animation Shop following the *steps above. When you have your tag like you want, save as gif.

If you are NOT animating the tag, just pick the word images and paste as new layers on top of which ever red frame layer you added to the tag. Once you have it like you want, just merge all and save as png or jpg, your preference.

The following are also Snags and I hope you enjoyed making the tag.

Merry Christmas

Signing In

Clicked

Voted


By using any item from this Blog, you agree to the TOU.

PSP Tube Stop has Opened

I have been trying to keep up with all my favorite artist from the former My Tag Art site. There were many great illustrators and artist who went to other companies. Some are selling their work from their own websites or blogs but I don't think any of them did what Lisa Cree has done and that is to create her own company!

Lisa has opened "PSP Tube Shop" and has brought some vary impressive artist with her. Formerly with "My Tag Art" are Mitzi Sato-Wiuff, Renee Lavoie and Susan Rundle-Hughes.

Other artist signed with PSP Tube Stop are Jenny Heidewald, Joanna Bromley, Katrina Koukiotis, Miss Megs, Micah Carmichael, Carla Lee Morrow, Blade Reed, Ava Schwark, Stefania Russo and April Story.

I will posting a tutorial with some SnagTags soon.

By using any item from this Blog, you agree to the TOU.

Sunday, December 4, 2011

Jaco Beach Costa Rica

Back in Feb of this year I was invited to go to Jaco Beach in Costa Rica. I absolutely loved it there. We stayed a week but it wasn't long enough. If you have the chance to go, you should.

Every where you turn, there is a picture! Here are some tags I made from a photo I took of the beach outside our condo balcony.  I applied the Topaz filter "Adjust".

If you like this photo, you can find a few items from it in my Zazzle store.

Mail Checked

Clicked

Voted

Happy Birthday

Signing In

Welcome

By using any item from this Blog, you agree to the TOU.